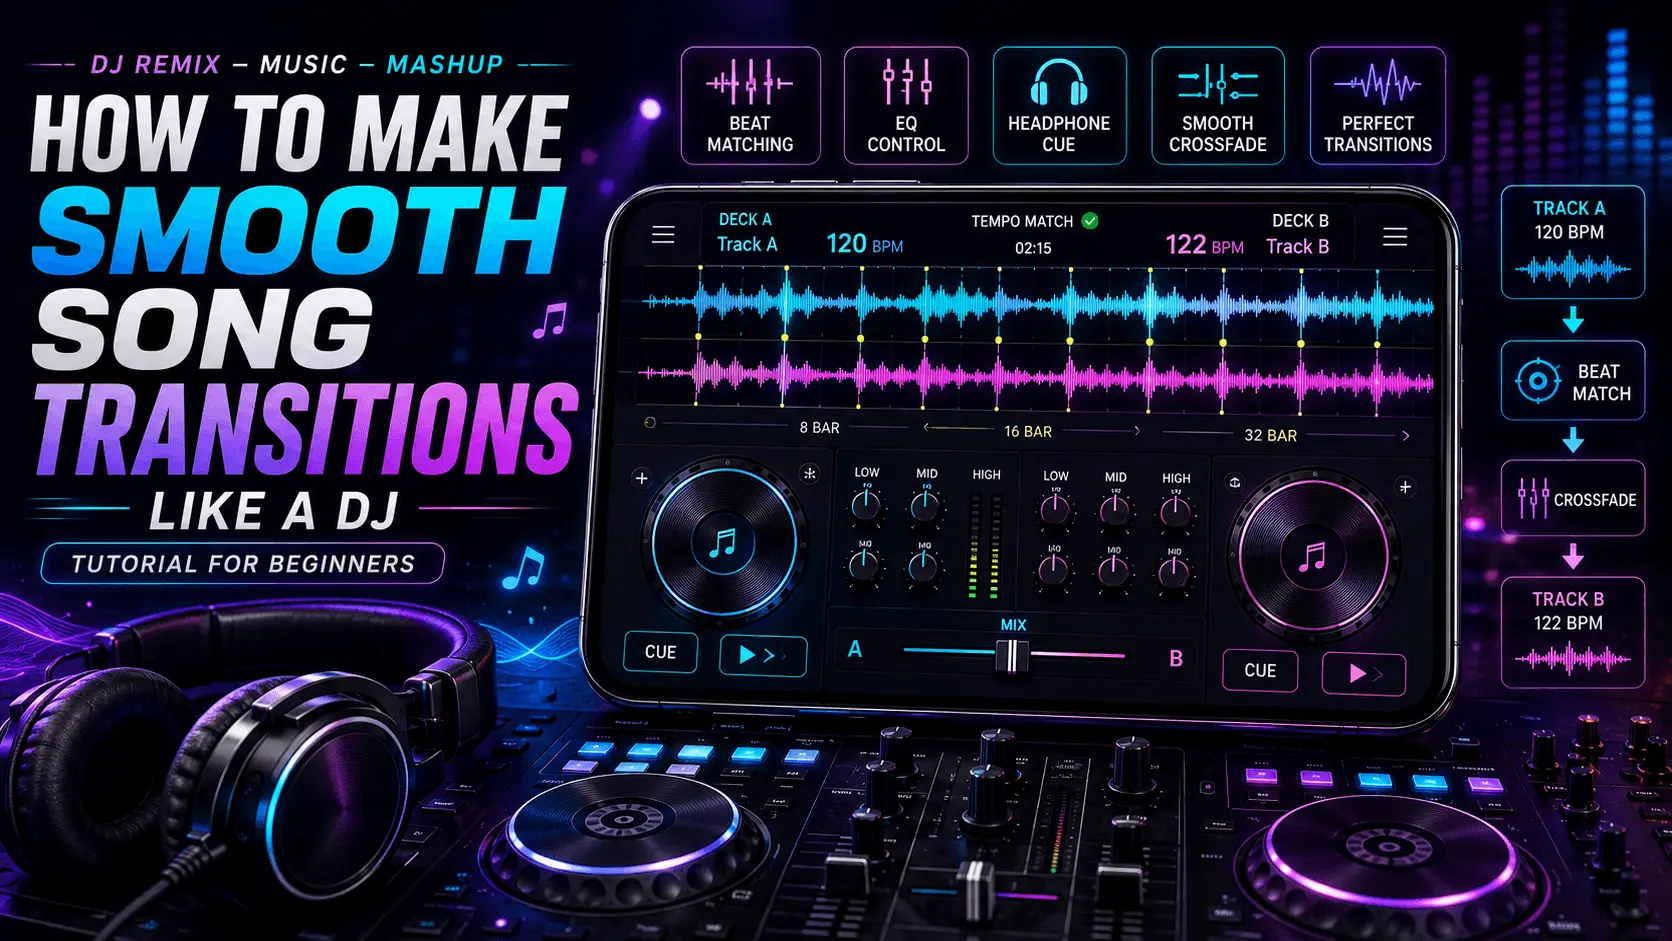
DJ Remix – Music – Mashup
Tutorial
Smooth Song Transitions
Beginner
A smooth song transition can make two tracks feel like one continuous mix instead of two unrelated songs playing one after another. DJs achieve this by paying attention to timing, tempo, rhythm, song structure, volume, and frequency balance.
You do not need to start with complicated effects to learn these techniques. In fact, beginners can often create better transitions by mastering a few fundamentals before experimenting with advanced effects.
In this guide, you will learn how to make smooth song transitions like a DJ by understanding BPM, beat matching, musical phrasing, cue points, volume control, crossfading, and basic EQ techniques.
These principles can also help when experimenting with remixes and mashups on Android using a suitable music-mixing or DJ remix application.
- What Makes a DJ Transition Sound Smooth?
- Understand BPM and Tempo
- Choose Songs That Can Work Together
- Match the Beats
- Understand Musical Phrasing
- Set Useful Cue Points
- Continue to Part 2 for Advanced Transition Techniques
What Makes a DJ Transition Sound Smooth?
A smooth transition is not simply about moving a crossfader from one side to the other. The timing and musical relationship between the two tracks are equally important.
When the rhythm of the outgoing song and incoming song is properly aligned, the listener can follow the change naturally. Good volume control and frequency balance then help prevent the mix from becoming too loud, muddy, or distracting.
| Element | Why It Matters |
|---|---|
| Tempo | Helps determine whether the tracks can blend comfortably. |
| Beat Matching | Keeps the rhythmic pulse aligned. |
| Phrasing | Helps you introduce the second track at a musically appropriate moment. |
| Volume | Prevents sudden jumps or drops in loudness. |
| EQ | Helps reduce unwanted frequency clashes. |
| Timing | Determines when the incoming track enters the mix. |
Step 1: Understand BPM and Tempo
BPM stands for Beats Per Minute. It describes the tempo or speed of a track by indicating how many beats occur in one minute.
For beginners, songs with similar BPM values are often easier to transition between because their rhythmic speeds are already relatively close.
Simple Example
120 BPM
122 BPM
A small tempo difference may be manageable, depending on the tracks and the tools available. However, BPM is only one part of a good transition.
Two songs with similar BPM values can still sound awkward together if their rhythms, phrasing, arrangement, vocals, or overall energy do not work well together.
Step 2: Choose Songs That Can Work Together
Before attempting a transition, listen to both tracks and consider how their musical structures and energy levels relate to each other.
You do not always need two songs from the same genre. What matters is whether their tempo, rhythm, arrangement, energy, and transition points can work together.
| What to Compare | What to Look For |
|---|---|
| BPM | Are the tempos reasonably close? |
| Rhythm | Do the beats and rhythmic patterns work together? |
| Energy | Will the transition maintain or intentionally change the energy? |
| Arrangement | Are there useful intros, outros, breakdowns, or other transition points? |
| Vocals | Will the vocal sections compete with each other? |
| Mood | Does the emotional character of the tracks fit the intended transition? |
Step 3: Match the Beats
Beat matching is one of the fundamental skills behind smooth DJ transitions. The basic idea is to align the rhythmic beats of two tracks so that they play together without constantly drifting apart.
Basic Beat-Matching Workflow
- Select the outgoing track.
- Choose the incoming track.
- Identify the beat of the incoming track.
- Match its tempo to the outgoing track where practical.
- Start the incoming track at the intended beat.
- Listen for rhythmic drift.
- Make small timing or tempo adjustments as necessary.
The goal is not simply to make two waveforms look aligned. Listen to the actual rhythm. If the beats begin to separate, the tracks are no longer staying synchronized and may need adjustment.
Step 4: Understand Musical Phrasing
Musical phrasing refers to how sections of a song are organized into repeating musical patterns. Understanding these sections can help you introduce a new track at a point that feels natural.
Many dance and electronic tracks use structures built around phrases such as 8, 16, or 32 bars, although song structures vary widely and these patterns are not universal.
| Song Section | Possible Transition Opportunity |
|---|---|
| Intro | Useful area for bringing another track into the mix. |
| Verse | May work when vocal sections are not competing. |
| Chorus | Can be powerful but may require careful timing. |
| Breakdown | Can provide space for a new track or change in energy. |
| Build-up | Can create anticipation before the next section. |
| Drop | Can create a strong transition point when the tracks are compatible. |
| Outro | Often provides space to introduce the next track. |
Step 5: Set Useful Cue Points
Cue points allow you to identify important moments in a track so that you can return to them quickly. They are particularly useful when practicing transitions because you can repeatedly start from the same musical position.
First Beat
Mark a reliable starting beat so you can launch the track intentionally.
Vocal Entry
Mark important vocal sections so you can avoid unwanted vocal overlap.
Breakdown / Drop
Mark major arrangement changes that may provide useful transition opportunities.
The exact cue-point features available will depend on the DJ or music-mixing application you use.
Start the Incoming Song at the Right Moment
Even two well-matched songs can sound awkward if the second track starts at the wrong point. Instead of pressing play randomly, listen for a phrase boundary or another musical moment where the incoming track makes sense.
Practice starting the second song at the beginning of an 8-, 16-, or 32-bar phrase when the song's structure supports it. Then listen to whether the arrangement actually feels natural rather than following the number mechanically.
Balance the Volume Before You Blend the Tracks
A transition can sound poor even when the beats are perfectly aligned if one track is much louder than the other.
Before blending two songs, listen to their perceived loudness and adjust levels where practical. Avoid sudden jumps in volume and make gradual changes when introducing the incoming track.
| Problem | Possible Solution |
|---|---|
| Incoming track is too loud | Reduce its level before bringing it fully into the mix. |
| Incoming track is too quiet | Increase its level carefully without creating clipping. |
| Sudden volume jump | Use a gradual level change. |
| Both tracks sound crowded | Check EQ and frequency overlap. |
Start With Simple Transitions
Beginners often try to use many effects at once. A better approach is to first practice simple transitions using timing, volume, and beat alignment.
Your First Practice Transition
- Select two tracks with similar BPM.
- Choose an outro from Track A and an intro from Track B.
- Set a cue point on Track B.
- Match the beats.
- Start Track B at a suitable phrase boundary.
- Gradually reduce Track A.
- Listen back and identify what could be improved.
Continue Learning Smooth DJ Transitions
In Part 2, we will cover crossfading, EQ, bass swapping, filter transitions, different BPMs, genre changes, and practical techniques for making your mixes sound more natural.
Step 6: Use the Crossfader Carefully
The crossfader is one of the simplest tools for moving from one track to another. Instead of abruptly stopping one song and starting the next, you can gradually reduce the outgoing track while bringing the incoming track into the mix.
A smooth crossfade depends on what is happening in both songs. A short crossfade may work well when one track has a clear ending, while a longer blend can work when the two tracks have compatible arrangements.
Basic Crossfade
Volume ↓
Volume ↑
Step 7: Use EQ to Prevent Frequency Clashes
Equalization, commonly called EQ, allows you to control different frequency ranges of a track. In a transition, EQ can help prevent both songs from occupying too much of the same frequency space at the same time.
| Frequency Area | Typical Role | Transition Consideration |
|---|---|---|
| Low | Bass, kick, and other low-frequency elements | Avoid excessive bass overlap when both tracks are playing. |
| Mid | Many instruments and vocal elements | Watch for vocals or instruments becoming crowded. |
| High | Cymbals, percussion, and high-frequency detail | Avoid making the combined mix overly bright or harsh. |
The exact EQ approach depends on the tracks. The goal is not to remove frequencies unnecessarily, but to create enough space for the two songs to coexist during the transition.
Try a Simple Bass Swap
When two tracks have strong bass content, playing both low-frequency sections at full level can make the transition sound muddy or overly heavy.
A basic bass swap involves gradually reducing the low end of the outgoing track while allowing the incoming track's low end to become more prominent.
Simple Bass-Swap Concept
- Start with Track A as the main track.
- Bring Track B in at an appropriate phrase.
- Keep the incoming track's low end controlled initially.
- Gradually reduce the low end of Track A.
- Allow Track B's low end to become more prominent as Track A leaves the mix.
Use Filter Transitions Without Overdoing Them
A filter can gradually emphasize or reduce portions of a track's frequency range. It can be useful for creating movement during a transition, especially when a simple volume blend feels too plain.
However, effects are most effective when they support the music rather than becoming the main event.
Good Use
- Apply a gradual filter movement.
- Use it around a natural transition point.
- Keep the effect controlled.
- Return naturally to the full sound.
Avoid
- Rapidly changing the filter without musical purpose.
- Using multiple effects at once.
- Applying an effect to hide poor timing.
- Making the transition louder just to sound more dramatic.
Technique: Beat-Matched Transition
A beat-matched transition combines tempo alignment with careful timing. When the beats of the two tracks line up, the rhythmic change can feel much more continuous.
● — ● — ● — ●
● — ● — ● — ●
● — ● — ● — ●
Listen for drift while the two tracks play together. If their beats gradually separate, make small tempo or timing adjustments using the controls available in your mixing software or application.
Technique: Extended Blend
An extended blend keeps both tracks present for a longer period. It works best when the two songs have compatible rhythms and arrangements and when their important elements do not compete excessively.
- Match the tempos where practical.
- Align the beats.
- Start the incoming track during an appropriate phrase.
- Keep its volume controlled.
- Use EQ when necessary to create space.
- Gradually make Track B the dominant track.
Technique: Breakdown-to-Drop Transition
Breakdowns often reduce the rhythmic density of a song, creating a natural opportunity for a change in energy. A transition can sometimes use this space to introduce another track before its stronger section arrives.
| Stage | What to Do |
|---|---|
| Track A Breakdown | Use the reduced-energy section as transition space. |
| Introduce Track B | Start Track B at a suitable phrase. |
| Build | Allow the incoming arrangement to develop. |
| Drop | Let the incoming track become the primary focus. |
How to Transition Between Songs With Different BPMs
Songs do not have to share exactly the same BPM to be mixed. A moderate tempo difference can often be managed depending on the tracks and the tools available.
Possible Approaches
- Gradually adjust the tempo of one track where appropriate.
- Use an intro or outro to provide transition space.
- Transition during a breakdown.
- Use a shorter blend when a long mix would expose the tempo difference.
- Use a filter or other restrained effect to support the change.
Avoid extreme tempo changes that make vocals or instruments sound unnatural. The best approach depends on the original recordings and the capabilities of your mixing tool.
How to Transition Between Different Genres
Genre changes can be more challenging because the rhythm, arrangement, instrumentation, and energy may change at the same time.
Instead of trying to force two tracks together for a long period, look for a musical bridge between them.
| Transition Example | What to Consider |
|---|---|
| Pop → Dance | Use tempo, chorus energy, and rhythm to connect the tracks. |
| Electronic → House | Look for compatible four-on-the-floor rhythm and phrase structure. |
| Hip-Hop → Electronic | Pay attention to BPM, vocal placement, and drum patterns. |
| Bollywood → Remix | Consider vocal timing, rhythm, energy, and the arrangement of the remix. |
Avoid Vocal Clashes
One of the fastest ways to make a transition sound crowded is to play two prominent vocal sections at the same time.
Before bringing the incoming track into the mix, listen to whether the outgoing song is currently using an important vocal section. If both tracks have strong vocals at the same time, consider choosing a different transition point.
Practicing Smooth Transitions on Android
Mobile DJ and remix applications can provide a convenient way to practice basic song transitions without setting up a full desktop DJ system.
Depending on the controls available in your application, you may be able to experiment with track selection, volume, tempo, crossfading, EQ, cue points, or effects.
With DJ Remix – Music – Mashup, you can use the available music-mixing tools to experiment with your own transition workflow. The exact controls and features depend on the application version and device.
Beginner Mobile Practice Setup
- Choose two compatible tracks.
- Identify their BPM and useful transition points.
- Set a cue point on the incoming track if supported.
- Practice aligning the beats.
- Try a simple crossfade.
- Repeat the transition without adding effects.
- Add EQ or a restrained effect only after the basic transition sounds clean.
Ready for the Final Part?
Part 3 covers common beginner mistakes, practical transition exercises, a complete smooth-transition checklist, FAQs, responsible music use, the conclusion, and the final DJ Remix – Music – Mashup CTA.
Common Beginner DJ Transition Mistakes
Learning how to make smooth song transitions takes practice. If a transition sounds rough at first, that does not necessarily mean you are doing everything wrong. Small timing, volume, and song-selection issues can make a noticeable difference.
| Common Mistake | Better Approach |
|---|---|
| Ignoring BPM | Check the tempo of both tracks before attempting a long blend. |
| Ignoring phrasing | Look for a natural phrase or arrangement change. |
| Starting the second track too early | Wait for a suitable musical point before introducing it. |
| Starting too late | Prepare the incoming track before the outgoing section becomes too crowded. |
| Sudden volume changes | Use gradual volume movements. |
| Too much bass overlap | Use controlled EQ when necessary. |
| Using too many effects | Master basic transitions before adding effects. |
| Mixing vocals over vocals | Choose transition points where vocal sections do not compete. |
| Ignoring beat drift | Listen for the beats separating and make small adjustments. |
| Choosing incompatible songs | Compare tempo, rhythm, arrangement, energy, and mood before mixing. |
Practice Exercise 1: Basic Crossfade
Start with the simplest possible transition. Do not worry about effects or complicated EQ movements. Focus only on timing and volume.
- Select two tracks with reasonably similar BPM values.
- Start Track A and listen to its rhythm.
- Prepare Track B at an appropriate starting point.
- Align the beats where practical.
- Slowly bring Track B into the mix.
- Gradually reduce Track A.
- Listen back and repeat the transition.
Practice Exercise 2: Beat Matching
Once you are comfortable with a basic crossfade, practice keeping two tracks rhythmically aligned.
Listen
Identify the main beat of both tracks.
Align
Start the incoming track so its beats line up with the outgoing track.
Correct
Make small timing or tempo adjustments when the beats drift.
Practice Exercise 3: Phrase-Based Transition
This exercise combines beat matching with musical phrasing.
Try This
- Find an outro or less-crowded section in Track A.
- Find an intro or suitable phrase in Track B.
- Set a cue point on Track B if the application supports it.
- Count or listen for the phrase structure.
- Start Track B at a musically appropriate point.
- Use volume and EQ to gradually make Track B the focus.
Practice Exercise 4: Record and Listen Back
One of the easiest ways to improve is to listen to your own transitions after making them. A transition can feel smooth while you are mixing but reveal timing or volume problems when you hear the recording afterward.
- Beat drift
- Sudden volume changes
- Bass becoming too heavy
- Vocals competing
- Abrupt EQ changes
- Effects distracting from the music
Which Transition Technique Should You Try?
| Situation | Technique to Consider |
|---|---|
| Two tracks have similar BPM and simple arrangements | Basic crossfade or beat-matched blend |
| Both tracks have strong bass | Controlled EQ or bass swap |
| Track A has a clear outro | Outro-to-intro transition |
| Track A has a breakdown | Breakdown-based transition |
| Two tracks have different BPMs | Shorter blend, gradual tempo adjustment, or arrangement-based transition |
| Genre changes significantly | Use a musical bridge, breakdown, or short transition |
| Transition feels too plain | Try a restrained filter or effect after the basic mix is clean |
Complete Smooth Song Transition Checklist
- ✓ Choose two tracks that can work together.
- ✓ Check their BPM and tempo.
- ✓ Listen to their rhythm and arrangement.
- ✓ Identify useful intros, outros, breakdowns, or drops.
- ✓ Set cue points when your application supports them.
- ✓ Match the beats where practical.
- ✓ Watch for beat drift.
- ✓ Start the incoming track at a suitable phrase.
- ✓ Keep vocal sections from competing unnecessarily.
- ✓ Balance the volume of both tracks.
- ✓ Use the crossfader gradually.
- ✓ Use EQ when frequency overlap becomes distracting.
- ✓ Avoid excessive bass overlap.
- ✓ Use effects sparingly.
- ✓ Listen to the completed transition.
- ✓ Record and review your practice when possible.
- ✓ Adjust one technique at a time.
- ✓ Practice regularly with different songs.
A Simple 5-Step DJ Transition Workflow
Choose
Select compatible tracks.
Match
Align tempo and beats where practical.
Time
Enter on a suitable phrase.
Blend
Balance volume and frequencies.
Review
Listen back and improve.
Frequently Asked Questions
Use Music Responsibly
Mixing and creating remixes can be a fun way to learn about music production and DJ techniques. When creating or sharing a mix, make sure you have the necessary rights or permission to use the music, or that the music is available under terms that allow your intended use.
This tutorial focuses on mixing technique and does not provide instructions for bypassing copyright protections or licensing restrictions.
Conclusion
Learning how to make smooth song transitions like a DJ is mainly about developing your timing and listening skills. You do not need a complicated effect chain to create a convincing mix.
Start with the fundamentals: choose compatible songs, understand their BPM, identify useful sections, align the beats, and introduce the incoming track at a suitable musical phrase.
From there, use volume control and crossfading to create a gradual change. When necessary, EQ can help reduce frequency clashes, especially when both songs contain strong bass or busy instrumental sections.
As your confidence grows, experiment with filters, bass swaps, breakdown transitions, and different BPM or genre combinations. The key is to use each technique with a musical purpose rather than adding effects simply because they are available.
Most importantly, practice. Try the same transition several times, record it when possible, listen back, and improve one element at a time. With consistent practice, even a simple Android DJ or remix application can become a useful environment for learning the fundamentals of song mixing.
Start Creating Smoother Song Transitions
Experiment with song mixing, transitions, remixes, and mashups using DJ Remix – Music – Mashup.